
Hello Divas, It's me... Luisa saying hi and sharing this easy and great tutorial with you!
Rossette flowers or Medallions are a popular trend right now and I thought it will be nice if we all Divas learn how to do them.
They are quite easy, requires little materials (and we got them already), they are gorgeous and they add lots of "Diva flair" to any card, layout or altered project.
Here we go...
Materials needed:
- Scoring board or paper trimmer
- Bone Folder
- Circle punch (3/4 of the size of your rosette flower)
- 12" strip of cardstock by 1", 1.5", 2" or bigger depending on the size of the rossete you want to create!

- Adhesive!

I strongly remommend you use any kind of strong Glue Dots for this project. Liquid glue is ok, but it takes more time to dry and the rossette can unfold while it's drying!
THE PROCESS:
1) Cut your cardstock strip to desire width and score every 1/2" on the horizontal side.

2) Accordion fold your scored cardstock.

3) Glue the ends of the folded strip of cardstock and form your rossette. Chances are that it will unfold, it's ok!
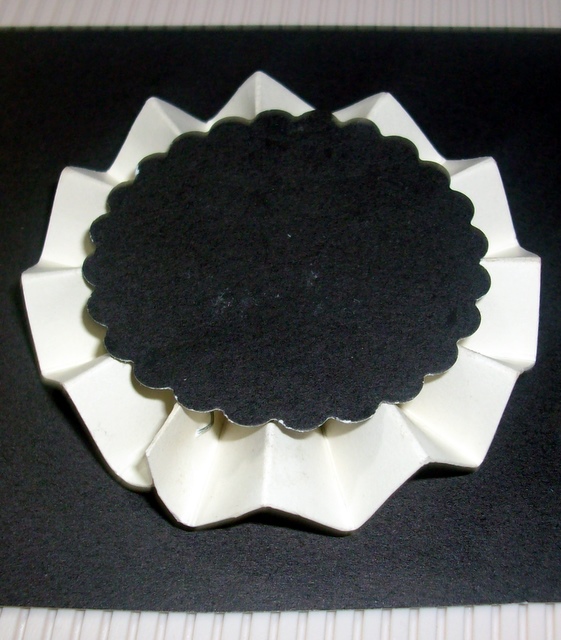
4) Punch a circle for the back. I recommend you cut this from cardstock! Add glue dots and adhere to the back of the rossette. If you are using liquid adhesive, you will need something a little heavy to put on top of your rossette to help set, while glue is drying! I put my circle punch on top of it to help maintain the rossette shape.

Here is how the back would look!
5) Nos it's time to embellish the front. I cut an scallop circle from pattern paper 3/4 of the size of the rossette for the front base.

And I punch another 1" circle to place it beneath the button. I add some hemp to the button to add more flair.

Voila! Your rossette is ready!
Here is a layout I did were I incorporated a rossette flower:

And here is a close-up of my first rossette!

Hope you like todays tutorial. If you create a rossette for any project or if you have projects with rossette flowers please share with us...
Hugs and blessings your way!

10 comments:
I have been soooo eager to make these rosettes, but I have to admit, I was a bit scared. Now, that you have explained it so well, it seems so easy! Thanks Luisa!
:O)
Jess
Great tutorial Luisa! I love making these flowers! They're so fun to add to any paper-crafting project! Thanks very much!...Nancy :o)
i love your choice of paper...mkes it look like you have a double flower! Thanks for the tutorial
Thanks Nancy, Jessica and Pam! I used to think it was difficult but after learn how to do them, I know it's easy and kind of fast too. And if you compare to the pricey pre-made ones, our cost to make them is almost nothing!!!
This is great! You made it so easy! Thank you
So lovely!
Very pretty, I need a scor board or scor pal. :)
I learned how to make accordian style rosettes last year and I love how easy they are to make! I found that you can easily make them without a score pal by just folding your paper strip accordian style, then attaching one end to the other and flattening it out. I use them on cards and have also put them on sticks for party decorations.
Wow, thanks for the tutorial!:) I tried them, and here's what I came up with: http://photosandscraps.blogspot.com/2011/08/mojo-monday-202.html
Can't wait to make more Rossete flowers!:)
Beautiful colors and lay-out. Thanks so much for this tutorial. This one seems pretty easy. I have tried some of the fabric flowers lately as well. Lisa
Post a Comment